Thursday, January 11, 2024

SKS Bidons

I bought a pair of bidons from 22 Bikes in Bhubaneswar on 4th January, 2024. They cost me Rs 1080. These are SKS bottles. I have many SKS products like mudguards, pump, chainstay cover etc. They are a German company but most of their stuff is made in China or Taiwan (which is fine with me). They maintain a basic quality in their products. 
The bottles are 750 ml each. I used them during our Tour de Chilika. They work fine. The sipper is good. However, the walls seem thin. It might be an optical illusion and feel so due to the translucent colour. I don't know. They are pretty light, for sure. Will see how durable they are in the long run. These will be my go to water bottles now for most of my rides until they are lost, stolen or break down. 

Earlier I used to use two 1 lit steel bottles. One of them is lost in Sikkim during a birding tour. The other is badly marked and looks dirty. I don't mind the extra weight and value the larger capacity. But they can rattle and make a noise. These wouldn't, hopefully. 
 

Wednesday, December 13, 2023

Met Helmet

Today (13th December, 2023) I got for myself a greyish white Met helmet from Rito's. They offered it at 5K against the MRP of 9K because it was lying around for a long time and had gathered some dust - nothing that didn't go with some isopropyl alcohol.

Along with it, I also bought a cheap full sleeve jersey in saffron and a rear view mirror. The mirror is from a Taiwan company named Guee.

Being used to driving cars and motorcycles, I am very used to a rear view mirror on my right hand side. Subconsciously the eye goes in that direction even when walking. Also vehicles in Calcutta come very close to you and often cross you with hardly any space in between. Mezda was knocked down by a motorcycle a few months ago when it's protruding bag brushed against him. Luckily there was no other speeding vehicle coming from behind to crush him. 

I keep looking behind by turning the head. It's a good exercise for the spine and neck and I am quite good at it for my age. Another issue in Calcutta is the larger commercial vehicles often make so much noise that you think it is about to knock you down. Then you turn around and find it is nothing but a rickety truck, carrying construction rubbish to some dump and quite far off. The ones that do a close pass are almost always silent. 

So the mirror would help. Now on to the helmet.

My other go to helmet, the Merida black and green, is now 8K old. In summer the nylon strap becomes clammy and I need to wash it frequently. A spare helmet would help. I did buy a second Merida a couple of years ago. But it turned out to be an extremely cheap and painful helmet. The inner foam cushion has come off and it hurts. I guess I will give it away to the NGO that works with poor children and gives them cycles and teaches rugby etc. 

I loved the fit of this helmet and the colour. Apparently it comes with Mips technology. I have to study what it means. But it is some enhanced safety feature. I shall test it soon and give a feedback. As of now it fits fine. Have to see how airy it is. But given how chilly the mornings are now I have half a mind to ride in the morning with the warm woolen cap.


Sunday, December 10, 2023

Squirt Lube

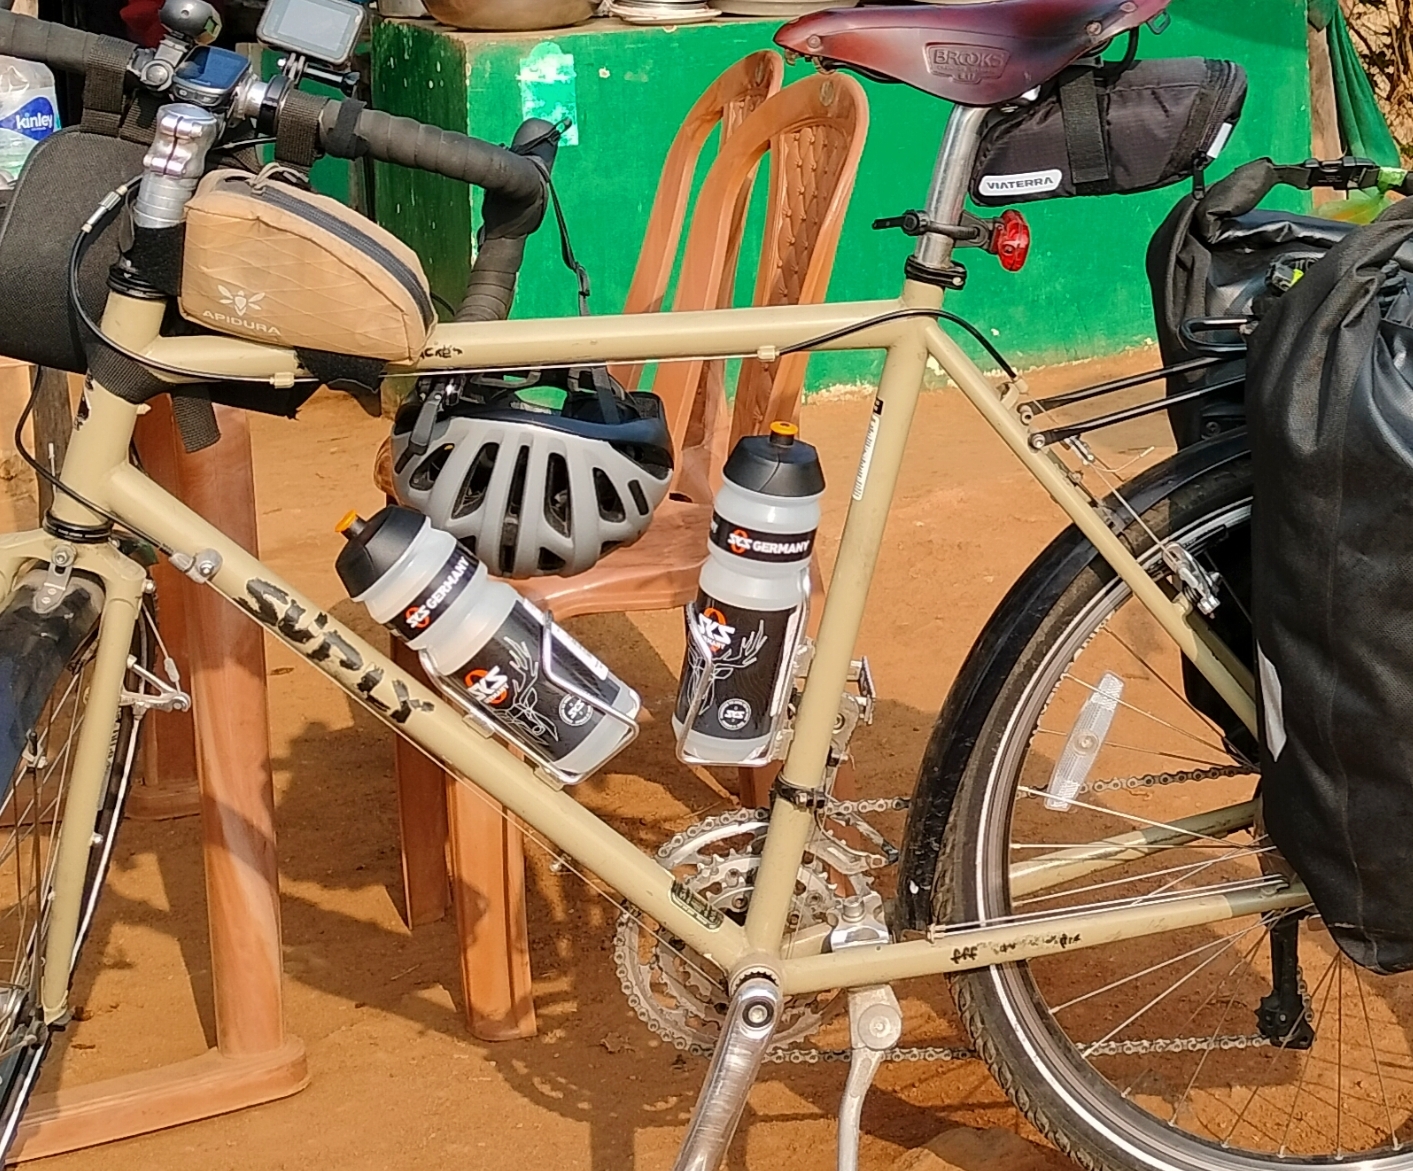
I had bought a bottle of Squirt from Rito a few months ago. Squirt is a wax based lubricant for bicycle chains. I cannot remember exactly when I bought it but that was quite a while ago. Might well be in 2022. But I never used it until recently. I was using my WPL wet lube which is a pretty good traditional lubricant. Before this I had a bottle of Finish Line dry lube which also worked just fine for me. I bought the Squirt more out of curiosity. I had seen its name being mentioned by a lot of people on international cycling forums. 

Sometime in end November (19th November, to be precise), I wanted to give my Surly chain a thorough clean. It is there since I bought the bike (more than 5000 km now) and has never really been taken off the bike for a thorough cleaning job. It is almost coming to the end of its service life. So I thought, before changing it I would give it a thorough clean. 

I took the masterlink off and soaked the chain in kerosene oil. After some time I brushed it with an old tooth brush. Then cleaned it in soap water followed by rinsing in clear water. After this I repeated the entire process once again because I found there was still some dirt stuck to the chain. 

Finally I dried it with a piece of cloth and let it drip dry by hanging from a hook. After this I installed the chain and lubed it with Squirt. I let it sit overnight and went out with the bike next morning. I put one drop on each link from the top.

But to my utter surprise I realised the chain was making an annoying continuous noise. Like a drone. After coming back home I cleaned the chain with a cloth. There was some blackish gunk. And I reapplied the lube. This time I kept the chain on lowest gear, as recommended on a youtube video. This apparently keeps the chain a little twisted and hence leaves a slight gap in the rollers to let the lube go in.

This time I lubed the chain twice. Once on the upper side and another time on the lower side. Exactly as suggested in the video. Normally I put a drop on each link from the top. This time I was a little more generous. I let it sit for two days, when I rode my road bike. This time when I tried it the sound was a little less but it was still there. I have always ridden in total silence and even the slightest noise leaves me very annoyed. As it is, I am quite obsessive about any continuous noise anywhere. I just cannot stand it. It draws my attention and I cannot concentrate on anything else.

I was very disappointed for the second time. I went ahead and applied another round of lube to absolutely no avail. 

So in total I applied three rounds of Squirt but the sound remained just as annoying. It's a continuous dronish sound. It stops the moment you stop pedalling.

What was I doing wrong? Most of the videos on the subject talk about applying Squirt on a new chain. And they talk about cleaning the chain (of the factory supplied lube) thoroughly, which I certainly did. But what I didn't do is clean the entire drive train. I didn't clean the jockey wheels on the rear derailleur. I had cleaned the front chain rings a little perfunctorily. I didn't even touch the cassette. The videos don't talk about the need to thoroughly clean the entire drive train.

I checked the chain. It had visible gunk all over, despite this being the dry winter months. A wax based lube is not supposed to have such gunk all over. So I told myself - I will clean the entire drive train once again very thoroughly and give it a last chance. If it still makes any noise I will either throw the bottle away or give it away to someone. Meanwhile I started riding my road bike in total silence.

A few days ago I decided to repeat the entire cleaning process but this time more thoroughly. I took the chain off once again. I cleaned it with the Ice Toolz degreaser (as opposed to kerosene) followed by soap cleaning. But more than the chain I spent a lot of time cleaning the two jockey wheels. I used a screwdriver to do the job. They became squeaky clean and started moving very nicely. I also thoroughly cleaned the front chain rings. I took the rear wheel off and thoroughly cleaned the casette. It wasn't dirty enough to require taking the casette off. 

After drying the chain overnight I discovered there was still some stubborn gunk stuck to the inside of a few of the links. I cleaned them individually with a thin screwdriver and literally polished every individual link with a piece of cloth.

After installing the chain I applied the lube. One drop on each of the link - once from the top, another time from the bottom. The chain was kept on 1st gear. 

I let the lube sit for more than 3/4 days. This was not by design but because it was raining in Calcutta and I didn't go out riding in the cold rains. 

Today, with some trepidation, I went out to check out how my intervention worked. I was quite determined that if it still makes any noise I will just degrease it and apply my wet lube. To hell with Squirt. I have a planned long ride in Orissa coming up. I cannot take any chance any more. 

But once out on the road I realised that the thorough cleaning job worked. The chain is absolutely smooth and silent. My normal lube also makes it quite smooth but wax keeps the chain clean and therefore improves its lifespan. That's the only advantage of wax.

So I am keeping Squirt for now. I will take it to Orissa because people say it requires frequent application. I shall see. As of now I am very happy that I solved the problem.

If you want to wax or Squirt your chain - please remember to abssolutely thoroughly clean the entire drive train, not just the chain. I think this lube being much thicker gets easily blocked if there is any gunk there in the links. So clean it up and give it the time to get in. And you have a delightfully quiet and silent chain.

I will change the chain once I come back from my Orissa ride. As of now the  stick showing100 per cent on my chain wear indicator is not going in smoothly, meaning there is still some life left in the chain. I guess in another few hundred kilometers it will become smoother, meaning it would be worn out enough to require a change.


Friday, January 27, 2023

Tubus Duo on Bridge Club

Yesterday I tried to see how the Tubus Duo front rack fits on my Bridge Club Mossy. I was prepared for a long session of trying various combinations of holes and bolts. But to my utter surprise it fitted just fine in the very first attempt. 

In the bottom of the rack go for the lower hole, on top choose the hole in the middle and as they say Bob's your uncle. 

After I posted a pic on the Ogre/BC group someone said his Ortlieb bags don't fit on it. So I took the front bags out of storage and put one on. No problem. It fitted just fine. I think Tubus and Ortlieb - both German companies - work together on their products. This guy probably did not have the front bags.  

I have half a mind to make a video on the process - that is how to instal it on the bike - but it seems so simple that it might really look stupid when turned in to a how to video. But then when I googled the subject "Tubus Duo on Bridge Club" there is nothing. So I might just make one for all it's worth. Perhaps the best idea is to make one showing how it is done on the Bridge Club and the LHT. That might have some takers.


Wednesday, November 2, 2022

Cadence Sensor

My Garmin Edge 130 is paired to a cadence and a speed sensor. While the cadence sensor is mounted on the

crank arm of the Merida, the speed sensor is installed on the training wheel. This morning I wanted to check my cadence and realised the sensor was not working. I was a little worried that it might have either conked off or the battery was down.

After coming home I promptly replaced the battery (I have a whole box full of these 2032 batteries) and to my great relief it was found to be working just fine. As is my wont, I had to once again learn the entire process almost from scratch. First you take the damn sensor off the crank arm. It is secured with a robust rubber band. Next you find out how the battery chamber is opened. That was pretty intuitive. But what stopped me for a long time is the question - how do you take the actual battery out of the slot? Turned out one has to press any of the sides of the battery down, the other side comes up. Otherwise there is no notch where you can slip your nail and jack it up. This is the ultimate in precision engineering. Not a micro millimetre is wasted.

The biggest challenge was taking the new Duracell battery out of its packing. I had to cut it open using a pair of sharp scissors !!!! 

But the great relief was when I saw the two tiny light dots signalling it was fine. I checked it out by turning on the Edge 130 and they connected almost instantly.

I wrote down the entire process here lest I forget again. I am not sure how the health of the speed sensor's battery is. I suppose it should also be changed. But then taking off the hub of the wheel is such a tricky thing to do.

I have decided to do cadence based fartleks at least once a week. That is you go for 30 seconds on high cadence and then cool off for another 30 seconds. Gradually you increase this 30 seconds to perhaps a minute. This exercise really helps. I learnt it while training on Zwift before the Darjeeling ride of 2019. 

Meanwhile, today is 3rd November and the cadence sensor is working fine. Here is today's reading.


Thursday, September 8, 2022

Changing Brake Pads on Roadie

Day before yesterday I changed the brake pads (I am not sure if they are to be called brake pads or shoes but I changed the entire housing and rubber) of my Red Roadie. I changed only the rear ones in the first go and will change the front ones tonight. The Roadie's odo says 4262 Km (after the 10 Km trial run last night). It had the original factory fitted brake pads from Merida which had worn off, to put it very mildly. In fact after my August 21 accident I had entirely taken off the rear pads  and installed the bike on my Elite (on a trainer you are not supposed to use the brakes) for rehab at home, complete with the training wheel. The training wheel being slightly wider than the Merida regular wheel, it made sense to the brake pads off.

Now I have decided to do a 58 Km ride on my birthday this year. That would be better with the roadie. So it is imperative that I instal the new pads. I had bought these Kool Stop in February 2021 off Happy Earth. You can read the post about it here . The two pairs for the front and rear had cost me Rs 3000. They are super premium by Indian standards. The oridnary ones cost Rs 250 or so. Incidentally, now I find they cost Rs 2000 each pair. Of course the exchange rate of dollar has also gone up.

Before I get into the nitty gritties of how I changed, I must say the test ride last night was super smooth in terms of rear braking performance. I never realised what I was missing with those hideous Merida OE brakes. I will need to tighten the brake levers just a bit. Right now I am reading up on the subject of how to do that.

There is nothing hi-fi about changing a brake pad. In fact I had changed them in my Surly before my Darjeeling trip (from Tektro to Kool Stop). The main challenge is to know what type of brake you have and then buy the correct ones accordingly. After that it's a matter of just using the allen keys properly. Remember to fit them in the correct direction. An arrow is shown on the rubber.

But my case was slightly complicated. I had to increase the gap between the brake caliper and the rim marginally. Otherwise the pads wouldn't fit. After much brain racking I decided to slacken the brake cable a bit. Possibly it got slackened a wee bit too much.

These brake shoes have two washers and a spacer. I kept the spacer and one of the washers on the other side of the caliper. On this side I have just one washer. It's working fine. 

Before signing off, I must once again state that the new brake shoes or pads are simply excellent. Kool Stop really makes your bike stop very cool.


Sunday, August 7, 2022

Tubus Duo Low Rider Front Rack


Today I accomplished what sometime ago seemed like a very daunting task, if not an impossible one. I installed the Tubus Duo low rider front rack on my Surly LHT's front rack. I had bought it a few years ago. On my first attempt it seemed completely impossible that the rack would fit my bike. For the life of me I could not see how it could be done. There are three holes where the bolts have to be tightened to secure the rack against the frame. And it seemed impossible that the three bolts could be properly aligned. 

But then the Tubus Duo is fairly well known in the touring circuit and so is the Surly LHT. Therefore surely it could be installed but I wasn't sure how. I even got a special skewer brought in from Happy Earth that does not have a key so that it wouldn't foul with the rack. I thought I would use it when necessary. In fact they are still kept safely in the cycling cupboard.

I couldn't find any youtube video on Tubus Duo. The Tubus Tara seemed more famous as a front rack.

Finally on a facebook forum for LHTs I saw someone's rig with a pair of Tubus Duos. His rig gave me the confidence that it could be done. In fact with this confidence I even bought a pair of Ortlieb front panniers from Stay Tuned. 

I thought I would try installing the racks with the mudguards removed. And after mentally postponing the installation several times in the past few months today I thought I'd try my luck.

So I first undid the front mudguard's two screws on the two sides. Next I started fiddling with the rack. Not much luck. I was beginning to get worried. Next I opened the instruction manual. The diagram clearly shows placing a spacer with the bottom bolt. I did that and bingo the damn thing went in without fouling with the skewer key. Next were the two bolts on the top horizontal tubes. They also went in without much drama. And I was finally done. Later, I removed the spacer and placed the mudguard's anchor point which acted as a spacer and it worked too.

I even removed the front wheel with the rack on. There was no problem whatsoever. Of course you cannot turn or rotate the key with the rack on but then you can unscrew the skewer from the other end holding the keyed side steady, which is what I did and the wheel comes off nice and easy. 

So here are the instructions for myself or anyone else who might have similar problems as me. For myself because I might soon quite forget what I did. Therefore it is prudent to write things down.